
Tools required:
• basic metric socket set with extensions of different lengths
• spark plug socket
• screwdrivers
• pliers
• short piece of rubber hose
• torque wrench (not required but nice to have)
• dielectric grease
• anti-seize compound
• shop air or vacuum cleaner
Now, before you go any further you must decide if you want to remove the intake plenum or not. The spark plugs on the passenger side can be replaced without removing the plenum but it takes some patience, plenty of socket extensions and swivel joints, and some luck. Or you can remove the intake plenum to gain better access to the spark plugs. I chose to remove it. It may take more time but it will definitely make the job easier. I also chose to remove the plenum so I could make sure the area around the spark plugs was clean and that any dirt or debris didn’t find its way into the cylinders.
Replacing the Spark Plugs:
1) Disconnect negative terminal from the battery
2) Remove the engine cover.
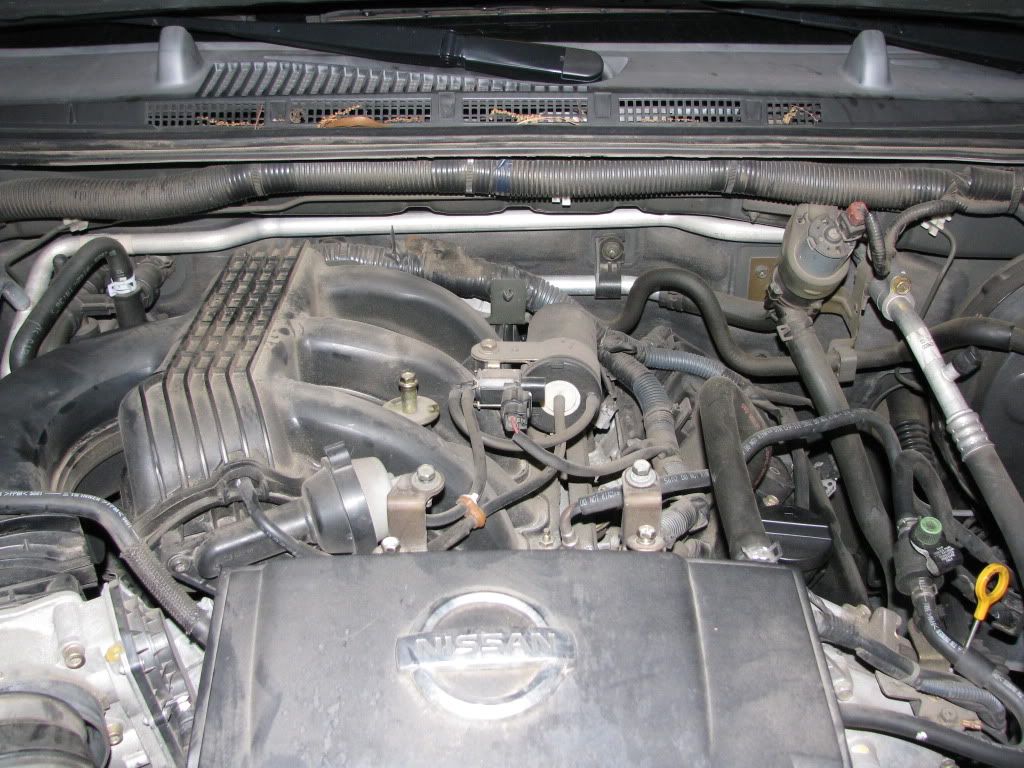
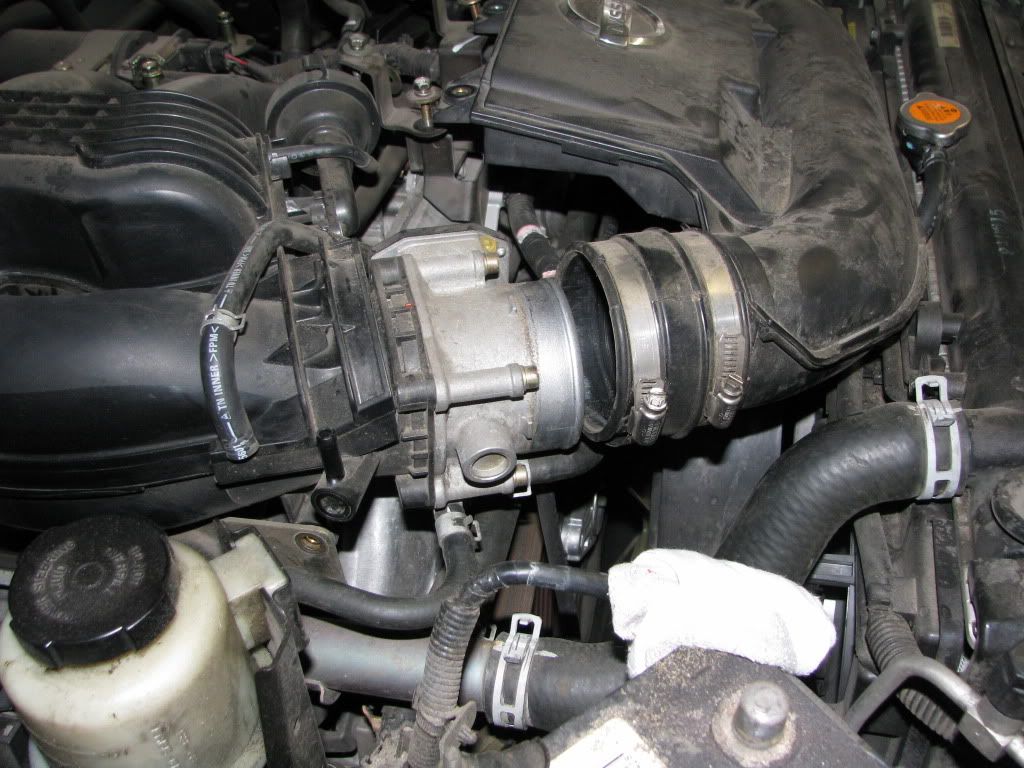
3) Remove the portion of the intake between the air box and the throttle body.
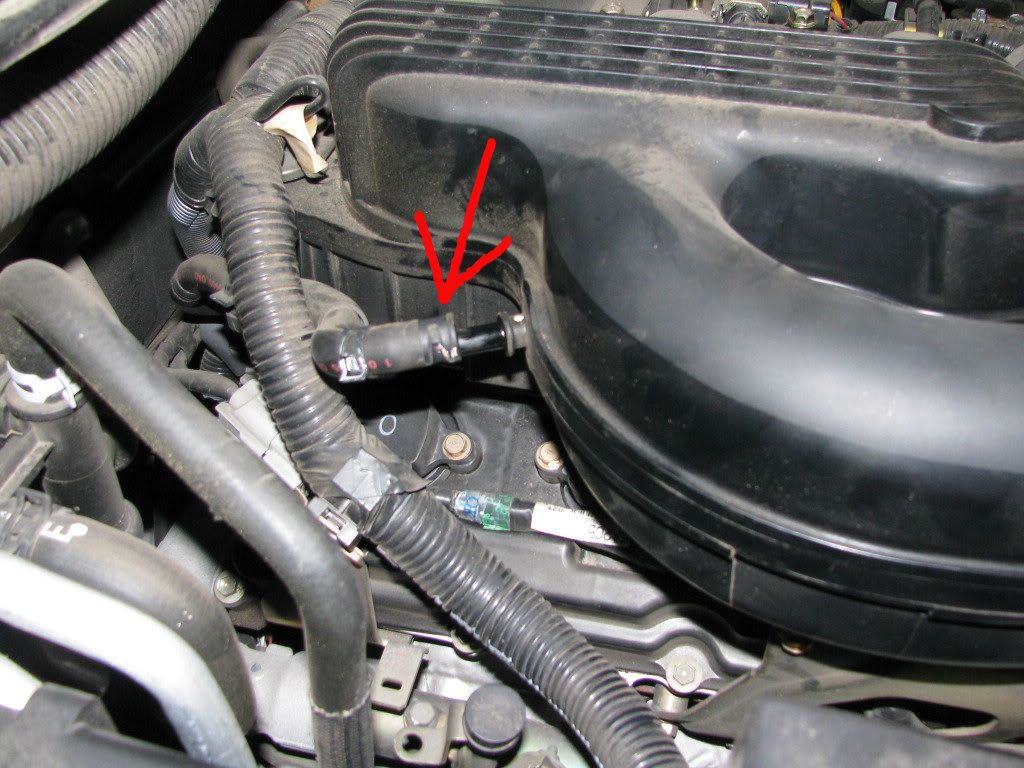
4) Remove the PCV hose from the intake plenum
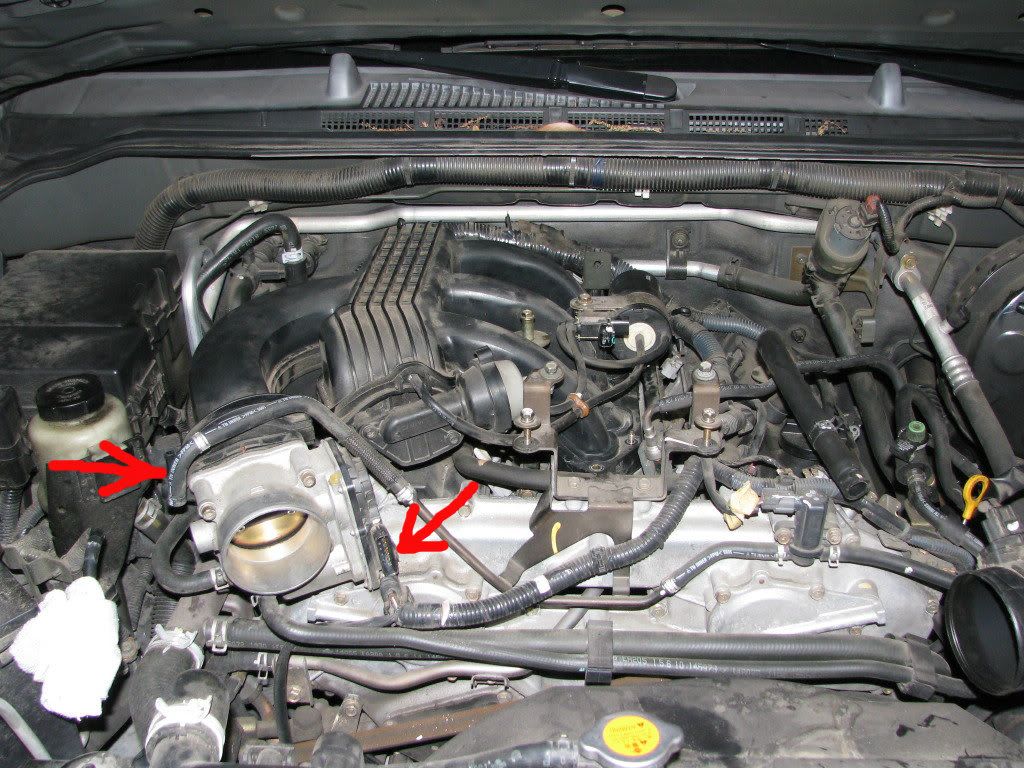
5) Remove the brake booster hose from the intake plenum
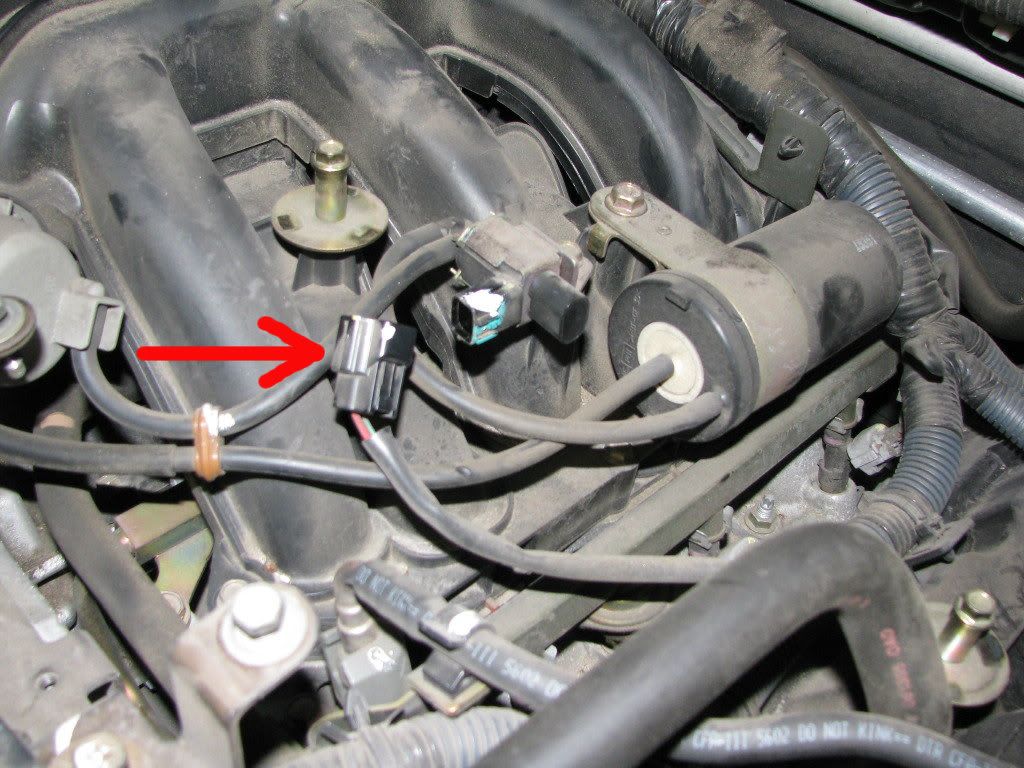
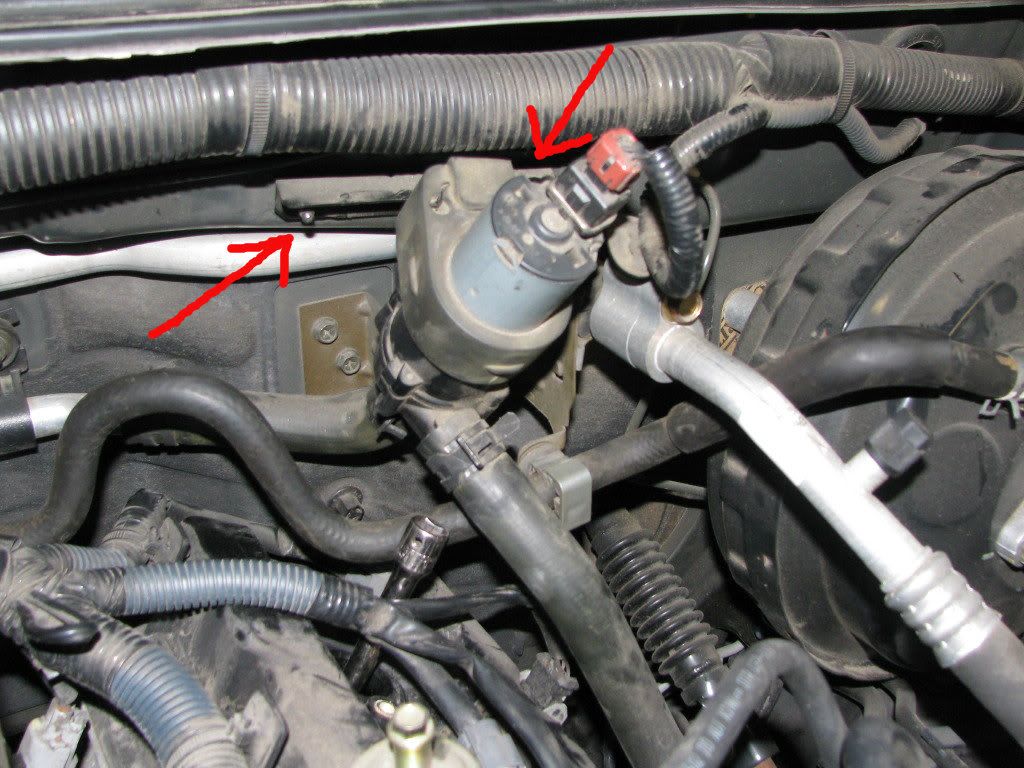
6) Remove the electrical connector to the throttle body and EVAP hose from intake plenum
7) Remove the top two bolts on the bracket that supports the intake plenum

8. Remove the EVAP connector
9) Remove the bolt for the Vacumm Tank. Leave all the hoses intact for now
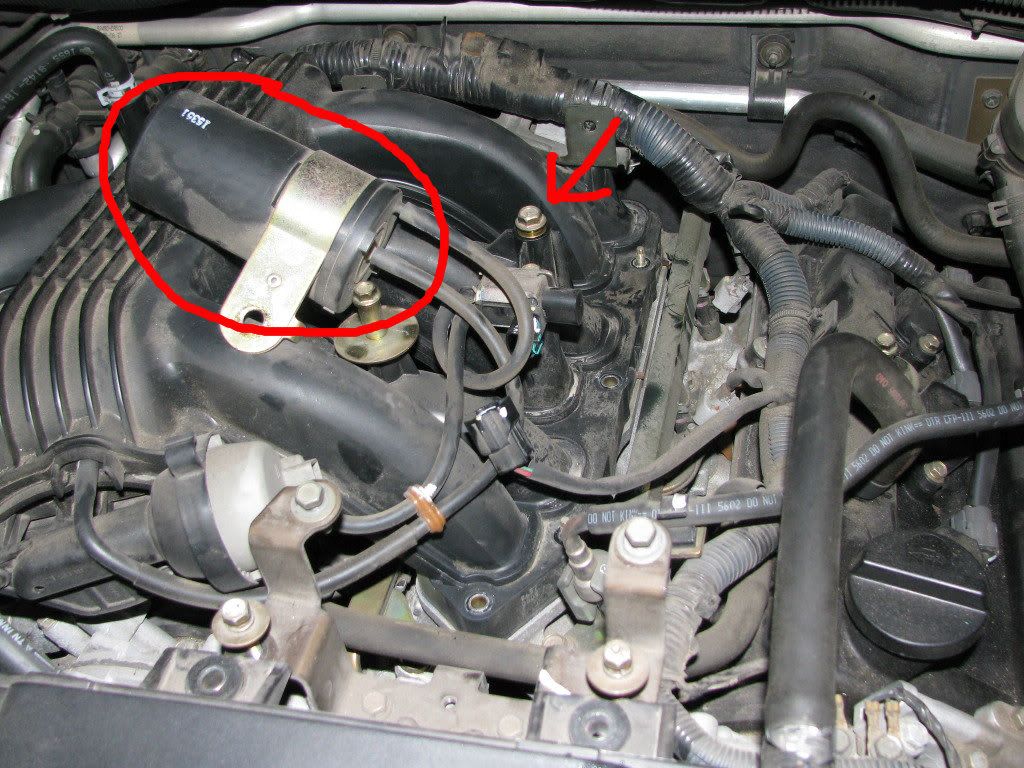
10) Remove the intake plenum bolts
11) At this point you should be able to remove the plenum but make sure everything is disconnected so you don’t break something
12) I chose to keep the coolant hoses connected to the throttle body rather than remove them. Now you can lift up the intake plenum and just move it out of the way of the spark plugs
13) Tape up the intake manifold so that nothing accidently falls into the engine while you’re working
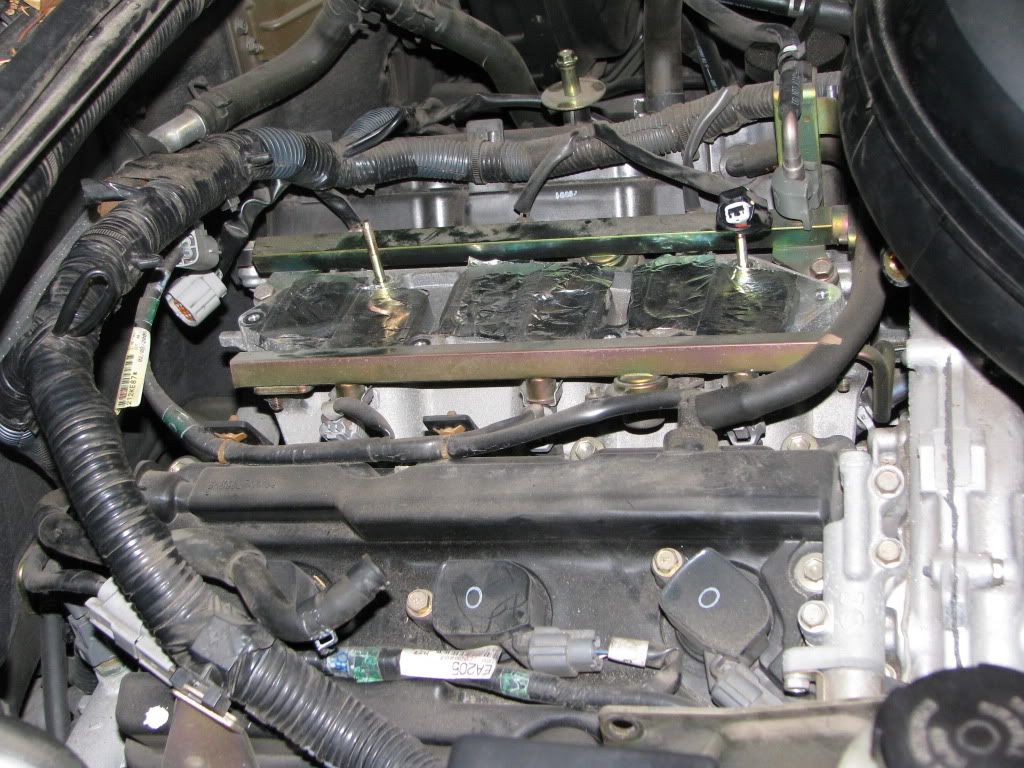
14) Now is a good time to thoroughly clean the area around the spark plugs. You use compressed air to blow off any debris or use a shop vac. Notice how I taped a short piece of hose to the end of the attachment to get the hard to reach places.
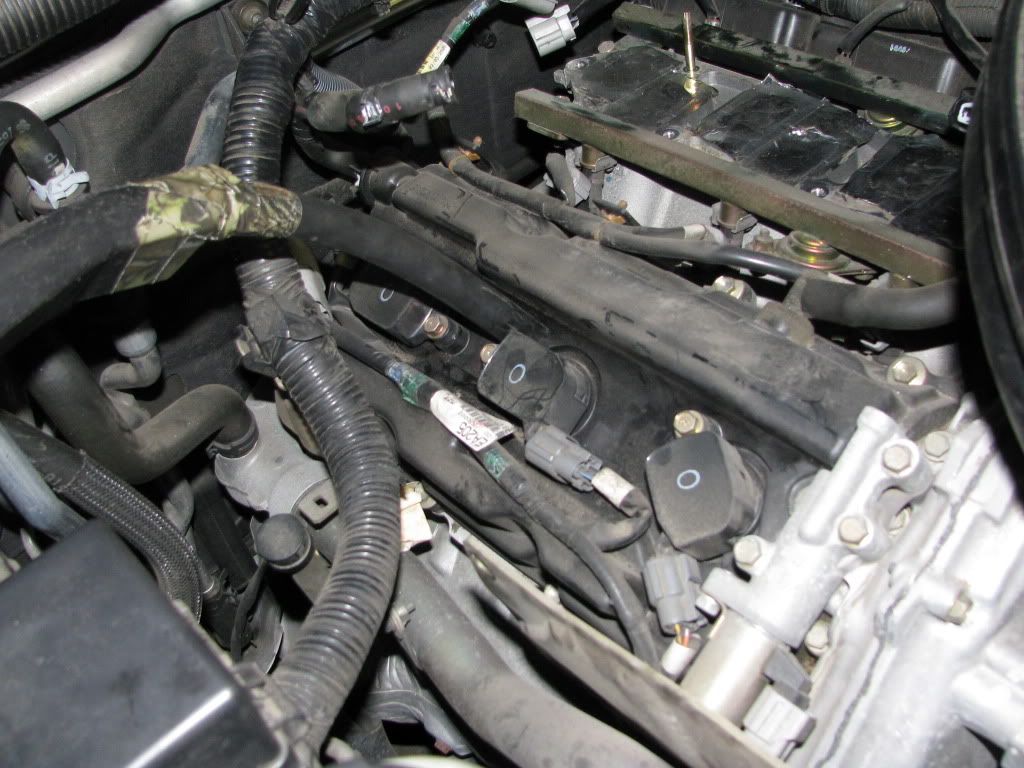
15) Now remove the first coil pack connector and remove the coil pack
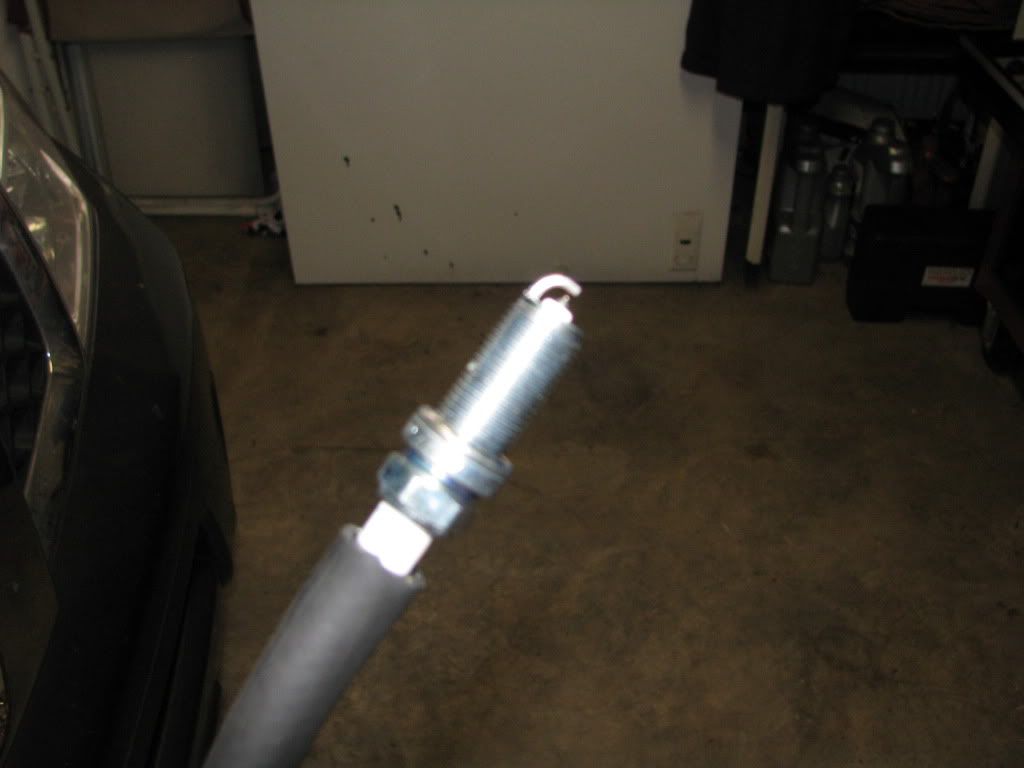
16) Remove the spark plug
17) Take the new spark plug and make sure it is the correct type and correct gap. Do not gap these plugs if the gap is incorrect. Take them back and get the correct ones.
18 Apply some anti-seize compound to the threads of the new spark plug to make sure you can remove them after the next 100k miles.
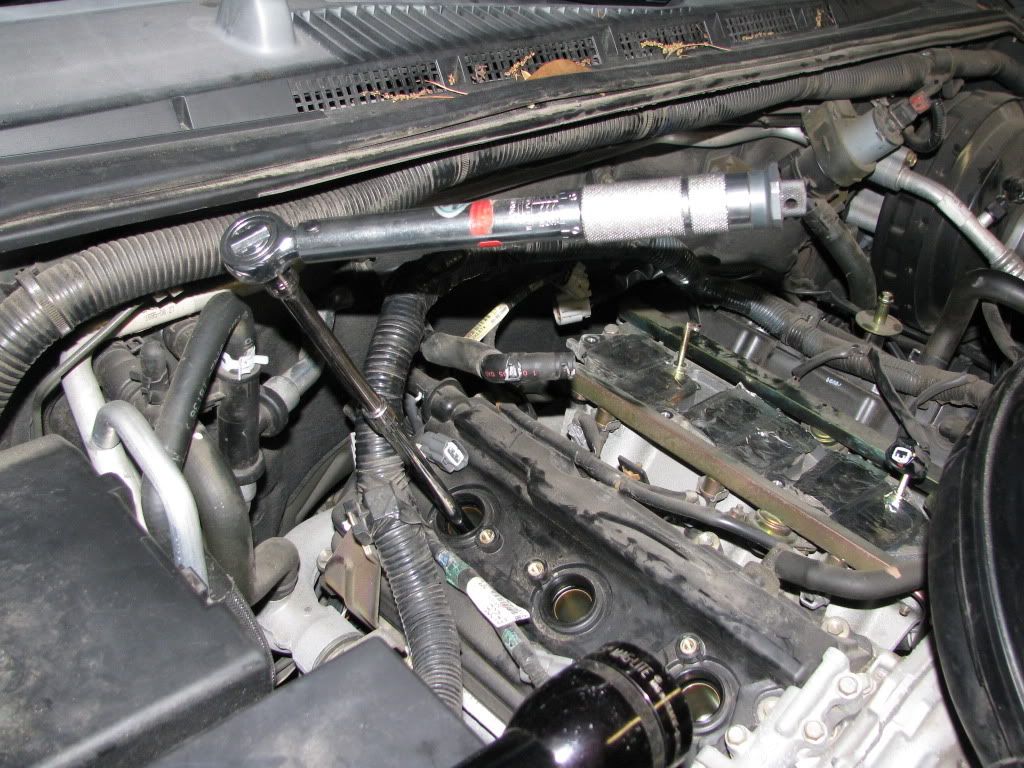
19) Using a rubber hose, install the spark plug finger tight. Then tighten to spec using a torque wrench
20) Apply dielectric grease to the coil pack and install coil pack.
21) Repeat steps 13-19 for the remaining spark plugs.
22) Note: The farthest spark plug on the driver’s side is much easier is remove once this is moved out of the way. Remove the two bolts that hold the bracket on.
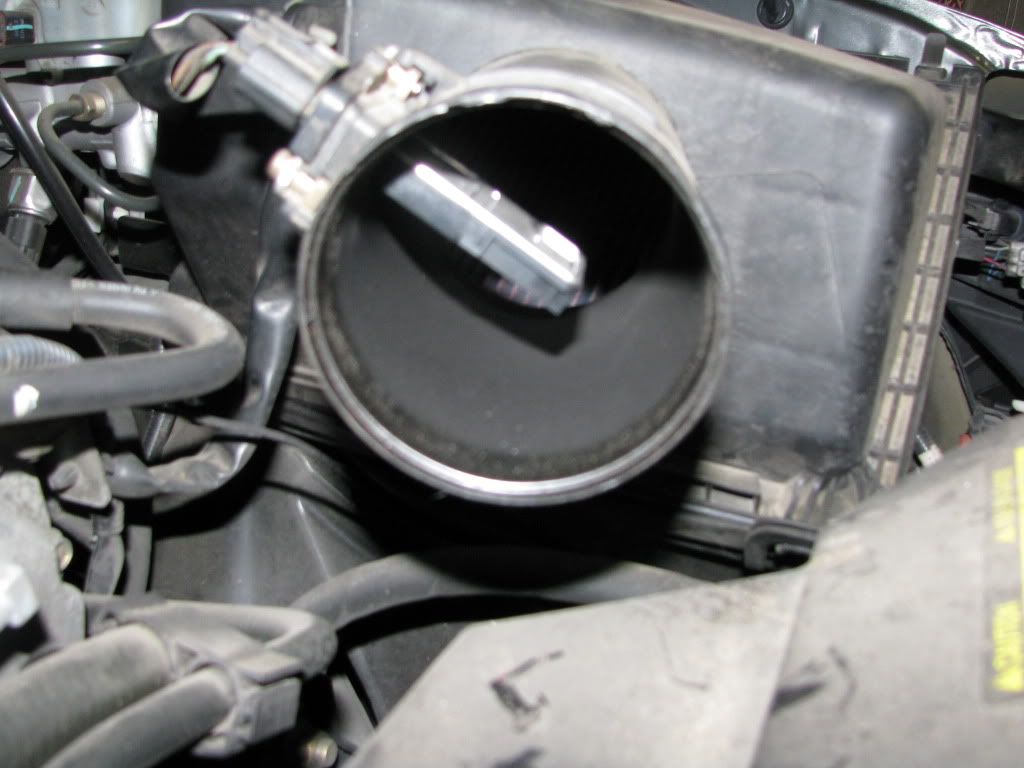
Now that the spark plugs are done, it’s a good idea to check a few things while you have everything apart. Check the MAF sensor and clean if needed. This is especially important if you have a K&N filter to make sure the oil from the filter isn’t fouling up the MAF sensor.
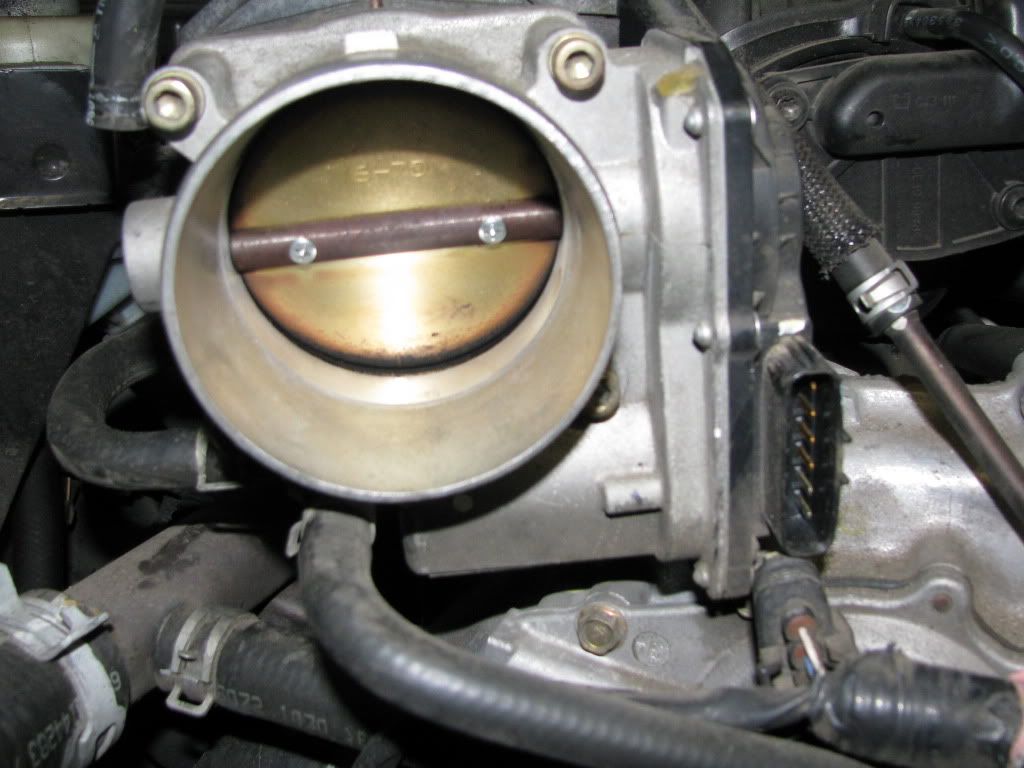
Also check and clean the throttle body if it’s dirty.
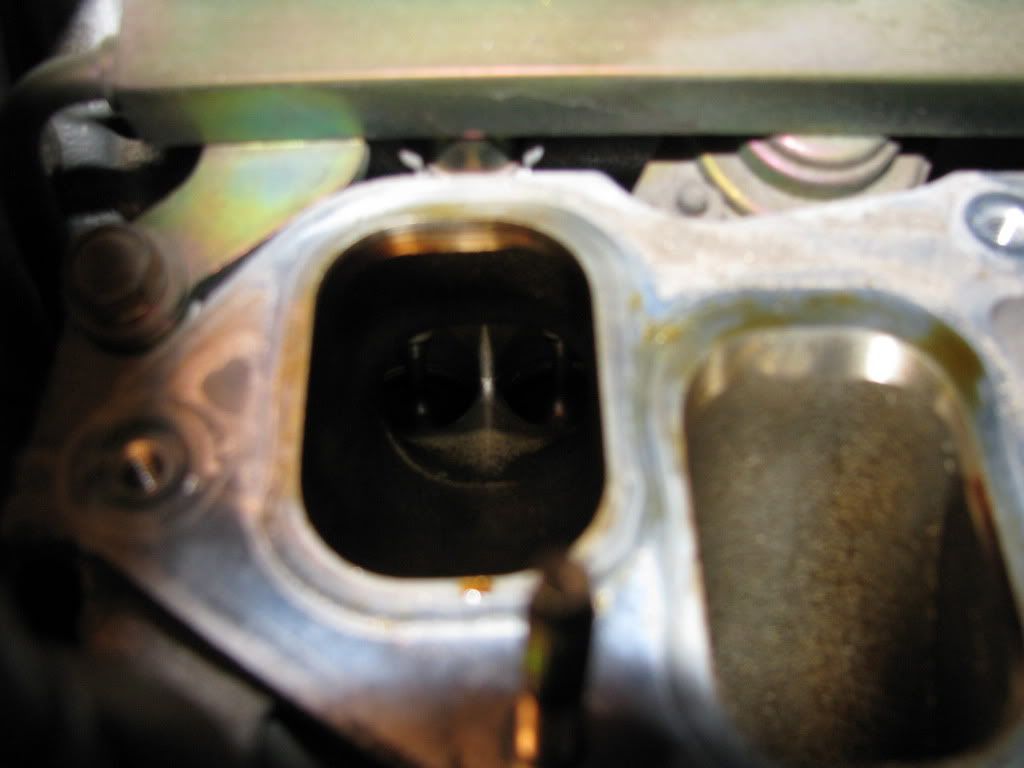
It wouldn’t be a bad idea to also take a peek through the intake and check out the intake valves and make sure they’re free of carbon deposits. If they are dirty, I’d recommended using Seafoam through a vacuum line to clean out the intake.
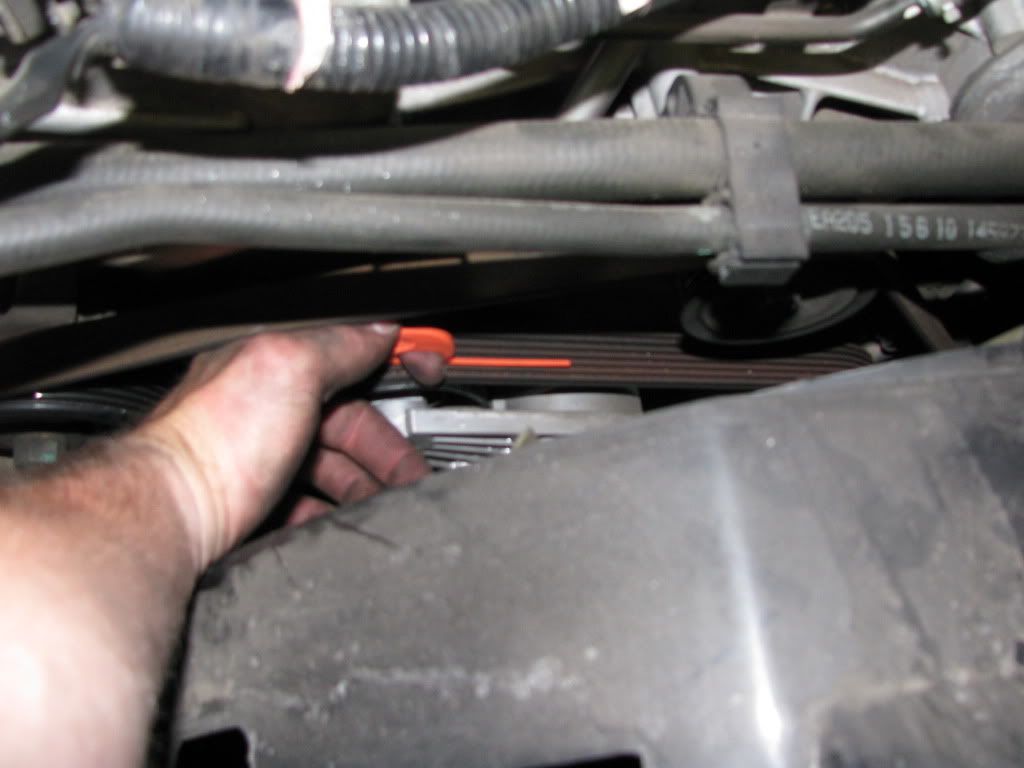
With the air intake removed, check the fan belt for wear. These newer belts made from EPDM don’t tend to show the same signs of wear than a typical rubber belt will. They don’t really crack or break apart. The best way to check an EPDM belt is to use a gauge such as this one. It fits in the grooves of the belt and you can see if your belt is worn beyond a certain point. You can get one of these gauges for free from Gates. I believe I got mine from their website a couple years ago.
Check for any oil leaks around the valve (rocker) covers and around the spark plug hole. Also check the coil packs for any cracking or deterioration.
Putting everything back together:
1) It is basically the reverse of removal
2) Refer to the service manual for torque specs and tightening sequence of the intake bolts. Be careful not to over tighten the bolts and crack the plastic. The service manual recommended to replace the intake gaskets. They are made of rubber so if they are still soft and not cracked, it should be fine to reuse them. That’s what I did anyway.
3) Now double check and make sure everything is connected properly. Then start the engine and check for any leaks.
4) Drive 100k miles and repeat 
I don’t intend this guide to be the only way to change the spark plugs but it worked best for me. If I missed anything or something is not correct please let me know. Any comments or feedback are welcomed. Hope you find this guide to be helpful!