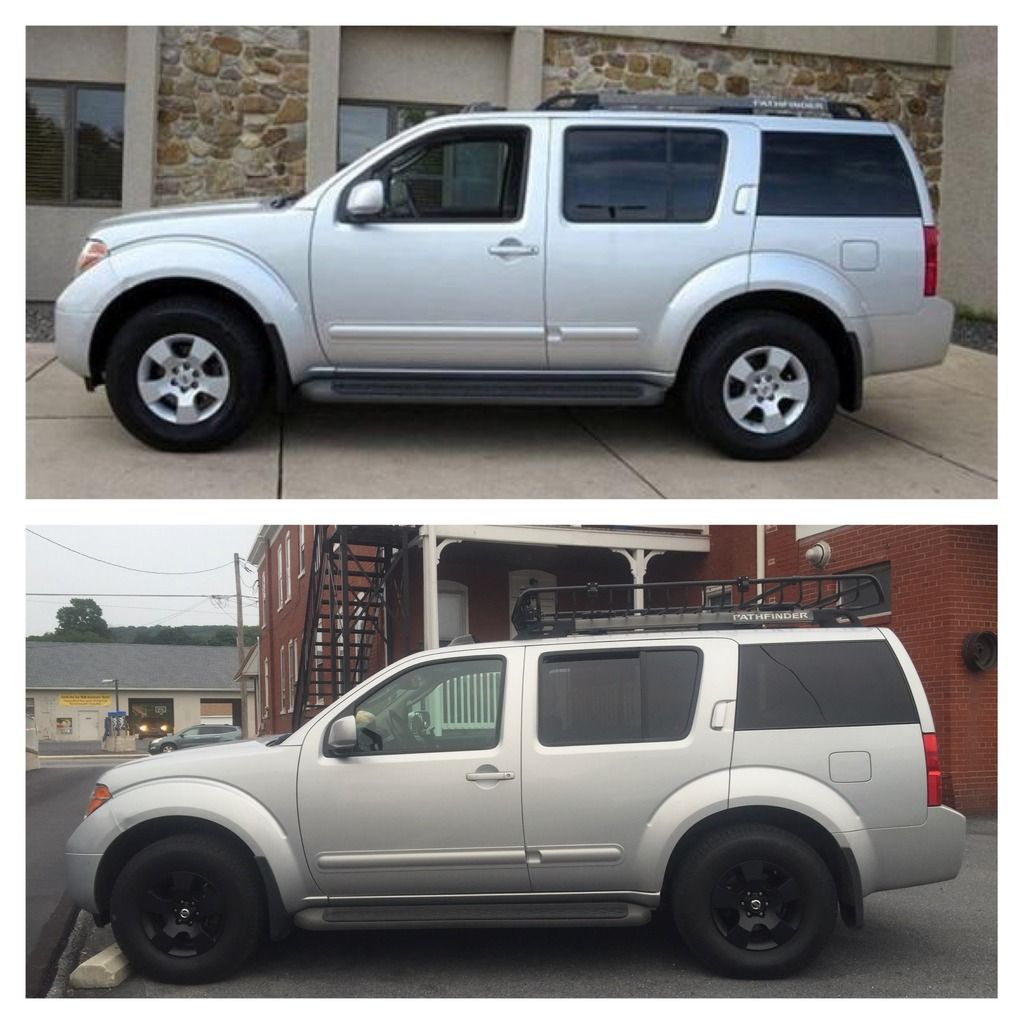
I figured I'd been lurking long enough and I'd share what I've been slowly working on so others could benefit or offer input. Please keep in mind this is a WIP, so I'll upload as time, finances (and wedding planning!) allow.
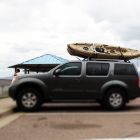
 (I'll also post my install on the 22" bar now residing in the bumper if anybody wants.
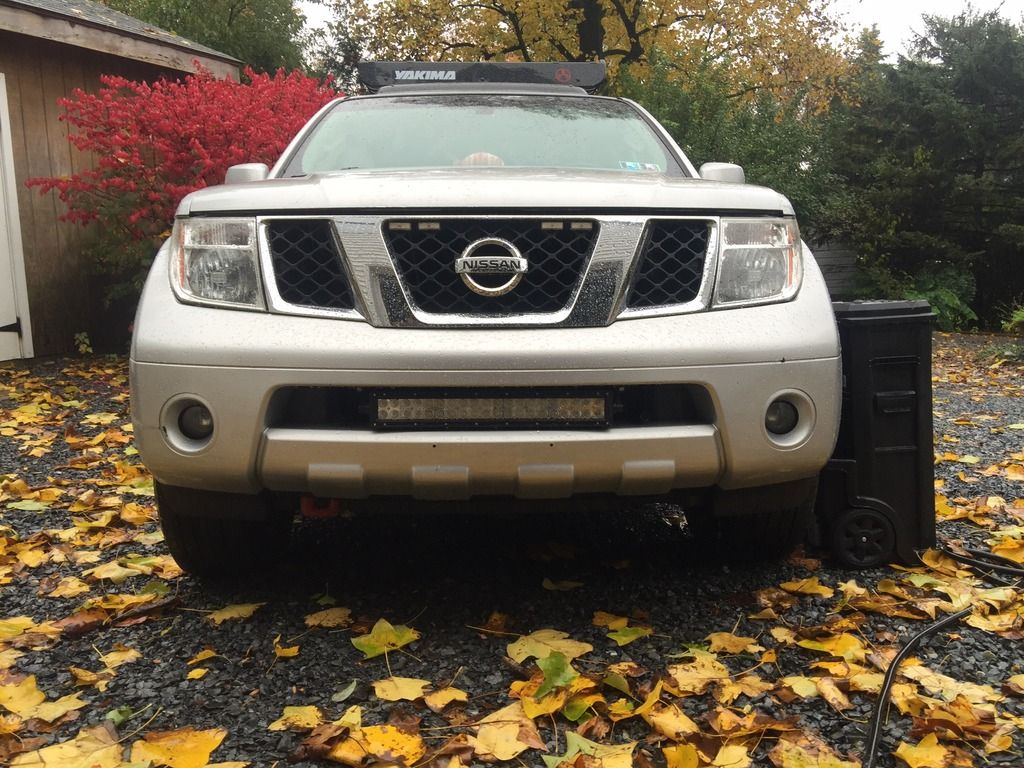
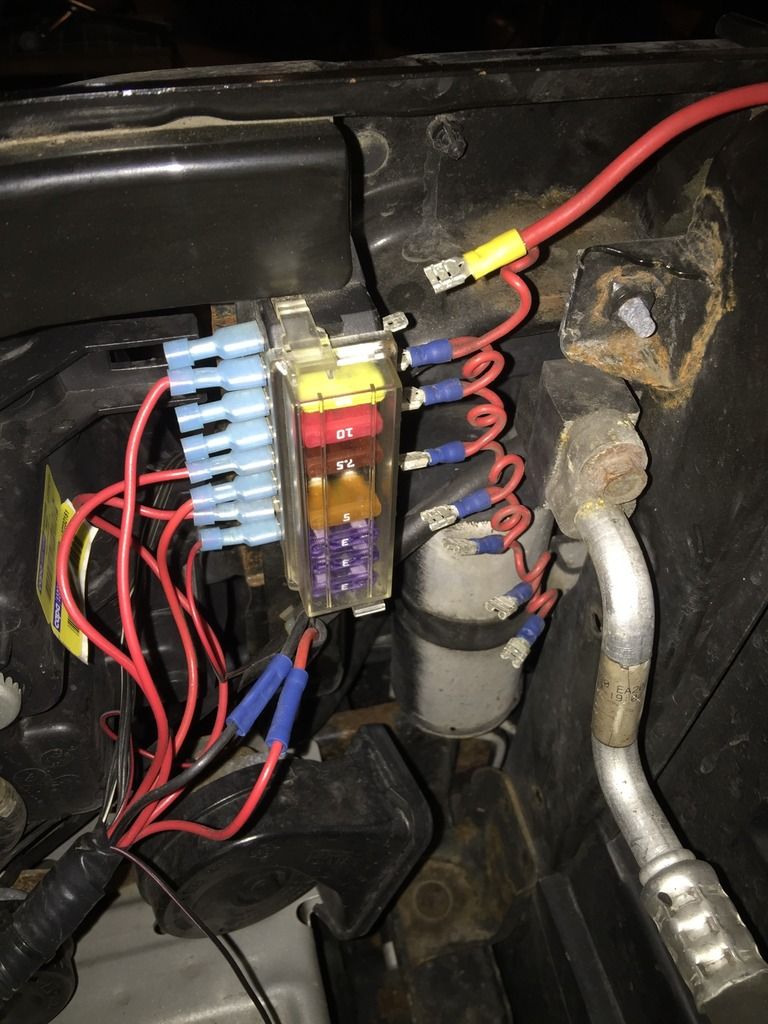
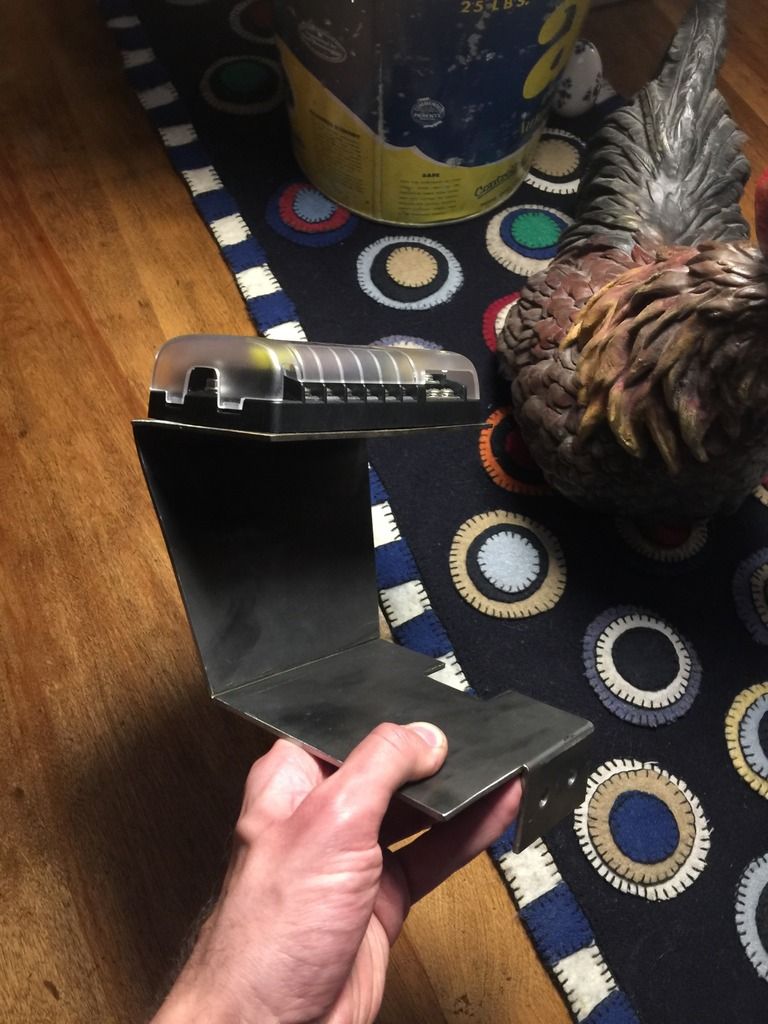
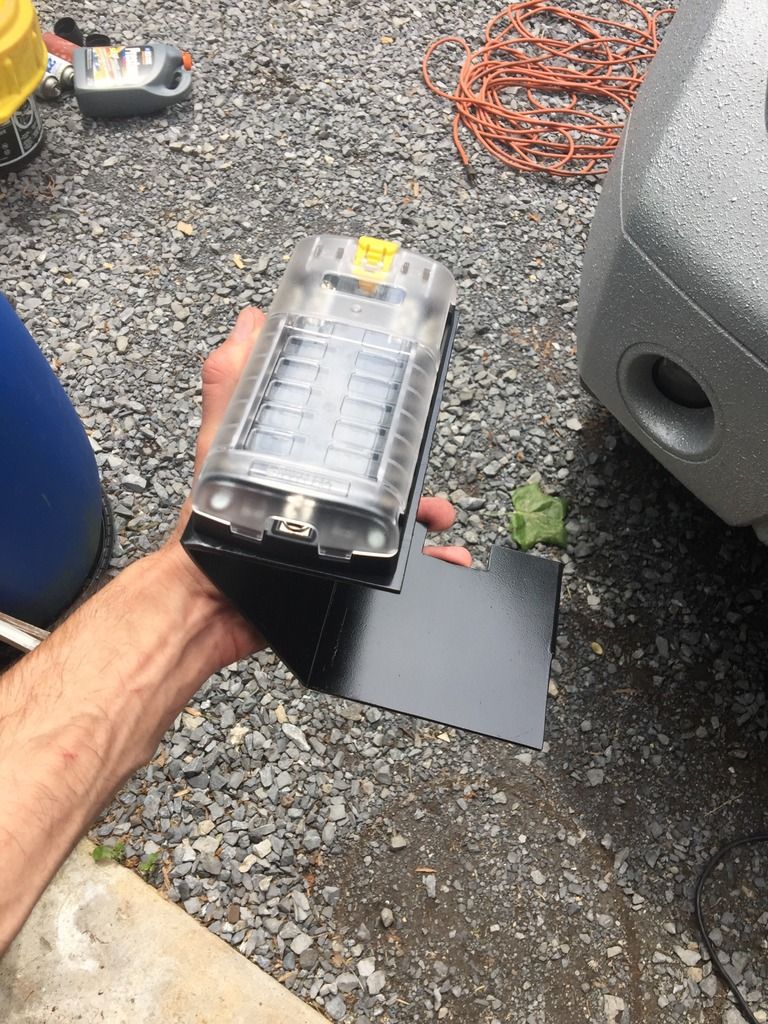
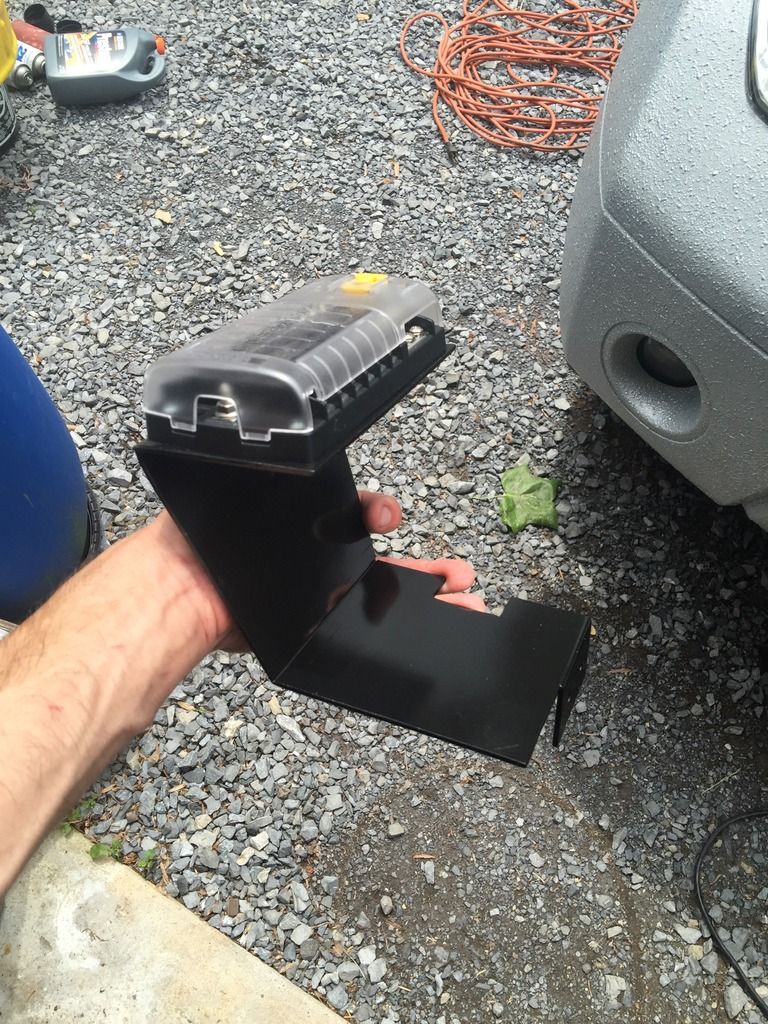
My first step was to re-do my aftermarket electrical additions. That first pic shows a somewhat ghetto, but effective arrangement, but I wanted better. So, I went with the Blue Sea 6 circuit with cover and negative bus that some others have used on here. However, under the hood on the R51 is rather cramped, so I wasnt too thrilled with mounting options for it. So, I decided to fabricate my own custom bracket to do the job. I used 5/16" steel plate, which is ridiculously overkill, but it's what my supplier got for me lol. Here's some shots of the bracket:
Before paint, fusebox on to check alignment of tapped holes:
No box, loosely installed for fitment and to sort of show where the bolts go:
And after painting:
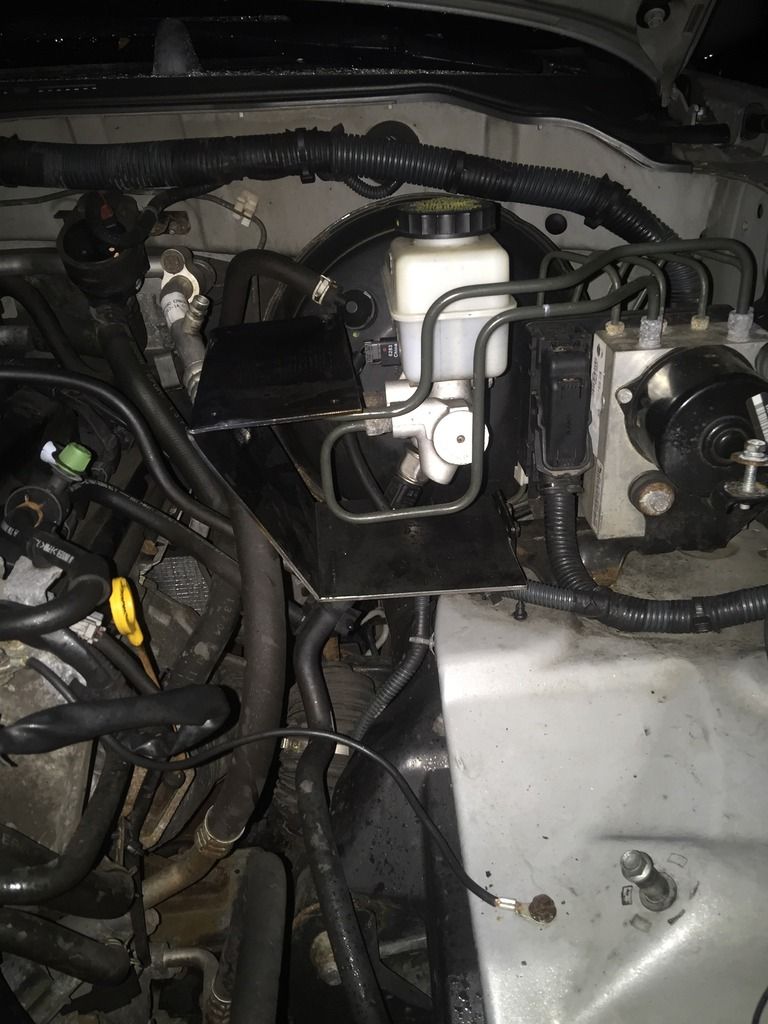
And installed:
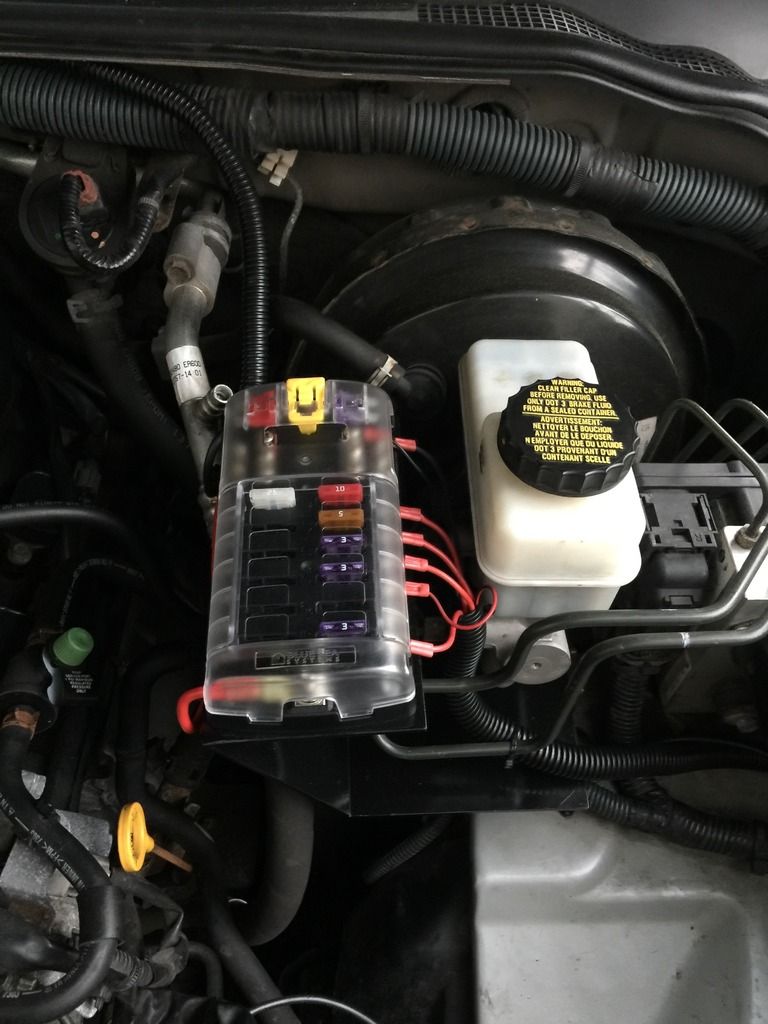
Sorry for the vague images of where it bolts into. Rather difficult to get a decent shot in there, but if you look under the ABS unit on the driver's side, there are two unused weld nuts in the same factory bracket. My vehicle's an 07 SE, so I dont know if that's a slot for the hill descent or what, but there you go lol. Anywho, I calculated out my draw for the 42" LED bar that'd be on the roof, the two Westin 7" (or 8". Cant remember.) LED work pods on the rear of the basket, my 22" in the bumper, and everything else I've added or plan to, and went with 10 AWG primary and ground to connect to the pos and neg busses of the fusebox. I also switched the negative batt terminal over to a military style all lead terminal so I could bolt additional conductors on later. Plus they hold up better imho. More write-up to follow soon!