2012 Body Side Molding
Moderator: volvite
2012 Body Side Molding
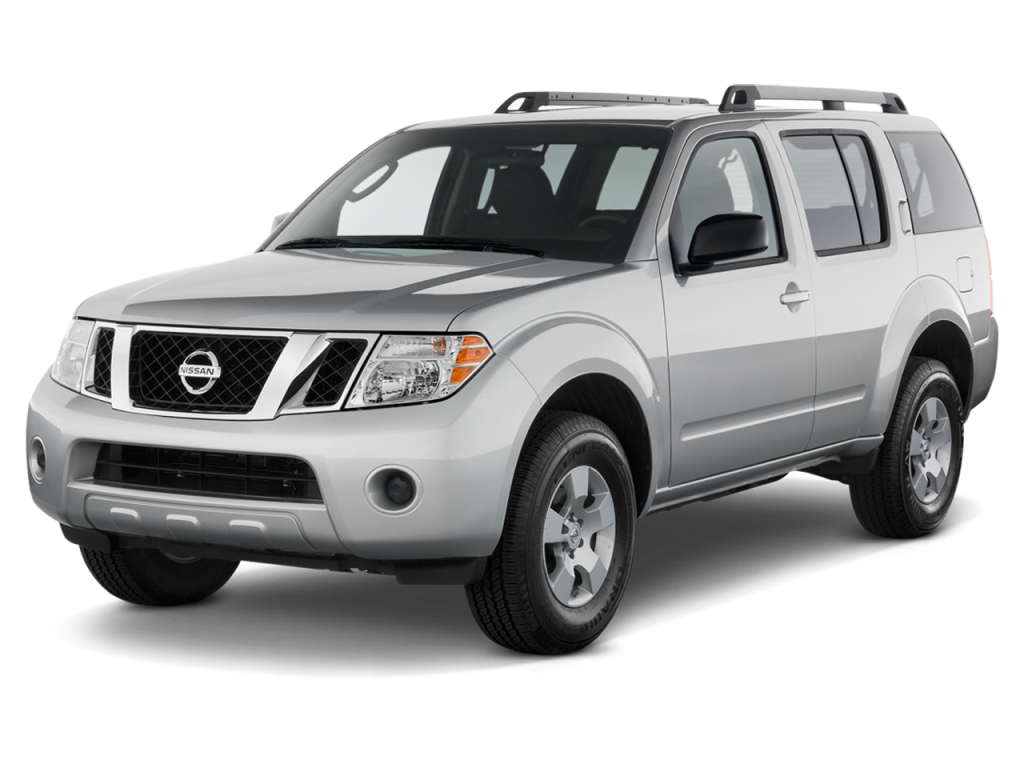
I have a 2012 Pathfinder Silver, Super black, and am in the process of getting rid of all the chrome. Plasti dipped the Grill and hatch in the back as well as the roof rails and rims. The only thing I really have left is the chrome body molding on the doors.
So I ordered the Super Black body side moldings but they are not exact replacements for the stock ones. They are the oval ones that look like they may wrap around the existing ones, are these the only kind I can get in super black or can i get the stock ones?
So I ordered the Super Black body side moldings but they are not exact replacements for the stock ones. They are the oval ones that look like they may wrap around the existing ones, are these the only kind I can get in super black or can i get the stock ones?
- doctahjones
- Posts: 844
- Joined: Tue Nov 16, 2010 11:08 am
- Location: aurora, co
aren't they just 'stuck' on there with adhesive?
i'd imagine if you want them to be somewhat usable, just use a heat gun to warm them up then then sloooowwwwllly peel them back a bit. alternate peeling and heating. similar method to how you remove an ipad2 screen for replacement.....
that's just my thoughts anyway, never done it or seen them removed yet.
- doctahjones
- Posts: 844
- Joined: Tue Nov 16, 2010 11:08 am
- Location: aurora, co
- volvite
- Sponsored Member
- Posts: 2180
- Joined: Wed Feb 16, 2011 5:06 pm
- Location: Hill AFB, Utah West Point UT
This method I've found to work the best. Low heat, or on a warm summer afternoon, and then fishing line. Worked for my JEEP.eieio wrote:+1 on the heat gun - verrrrry gently on the heatmprat0127 wrote:Any idea how to get the existing ones off, in a way that they are still usable?
you also may be able to work them loose by using a piece of fishing line behind them to cut through the adhesive
Staynlean - Dont like the chrome at all, want it to be all black. I dont really mind the look of the molding, just dont like it chrome.
So, I actually went about doing this right before the break. A few things, went about the heat gun method, it seemed to work pretty good on the part of the molding that was painted already, not so hot on the chrome piece. I ended up with a few stretch marks in the chrome piece, maybe because of my lack of patience! Whatever the reason, I got them off and was a little upset to see 2 holes on each side on the front door under where the moldings were, unlike the pictures show of a smooth surface.
I guess the reason they are there is for the replacement moldings, so I will now look into those, although not my favorite look, still like it better than the chome. I will get pictures up as soon as I can.

 .
.